By
By 
My children really struggled with spelling skills. While they knew the rules and passed their spelling tests most of the time, getting the spelling of words to stick in their brains for recall in their other subjects sometimes proved to be a challenge. And, for my son who has slight dyslexia and dysgraphia issues, spelling had some additional challenges. Plus, he is tone deaf, making phonics difficult and "sounding out a word" is not a very good suggestion.
So how did we tackle some of our spelling dilemmas?
First off, I'd like to explain how we came up with the words for my children to learn. When they were younger, we did use a spelling program so they could learn the rules and other important "first" words to get them going. But as they grew older, around upper elementary and middle school age, we would create our study word list from the incorrectly spelled words found in their schoolwork. These were recorded alphabetically in a notebook. I would mark the word in their schoolwork, and they would then need to use a dictionary or other resource to find the correct spelling. They would then add it to the appropriate page of the notebook. This method taught them valuable research skills as well as allowed them to create their own spelling dictionaries that they could refer to if the need arose.
I also had my own notebook in which I kept a dated list of the words from the previous week that they would be responsible for learning. From time to time we would spend extra time reviewing making sure that words from the past were remembered.
Once we had determined which words each child was going to learn for the week, we incorporated some fun activities to help them study. In addition to the usual dictionary practice skills and rule reviews, these are some of the more interesting things we did.
Homemade word searches – We took large grid graph paper (like the ones found here) and the kids inserted the words in various locations on the grid, one letter per block. Once those were filled in, we would stick random letters in the remaining blocks. We set the puzzle aside for a few days, then they would do the puzzle. Grid paper worked well for homemade crisscross puzzles too.
BIG words – The kids would practice writing their words in BIG letters not only on paper, but also in chalk outside on the driveway or with a stick in the dirt. If we happened to be homeschooling away from home at the beach as we sometimes did, they would write them in the sand. Or, on the rare occasion we would get snow down here in the south, they would write them in the snow. The goal was to write them as large as they could and still be able to read them. They would also use a paintbrush and water on the wooden fence in our yard and try to write the whole word before the first letters dried.
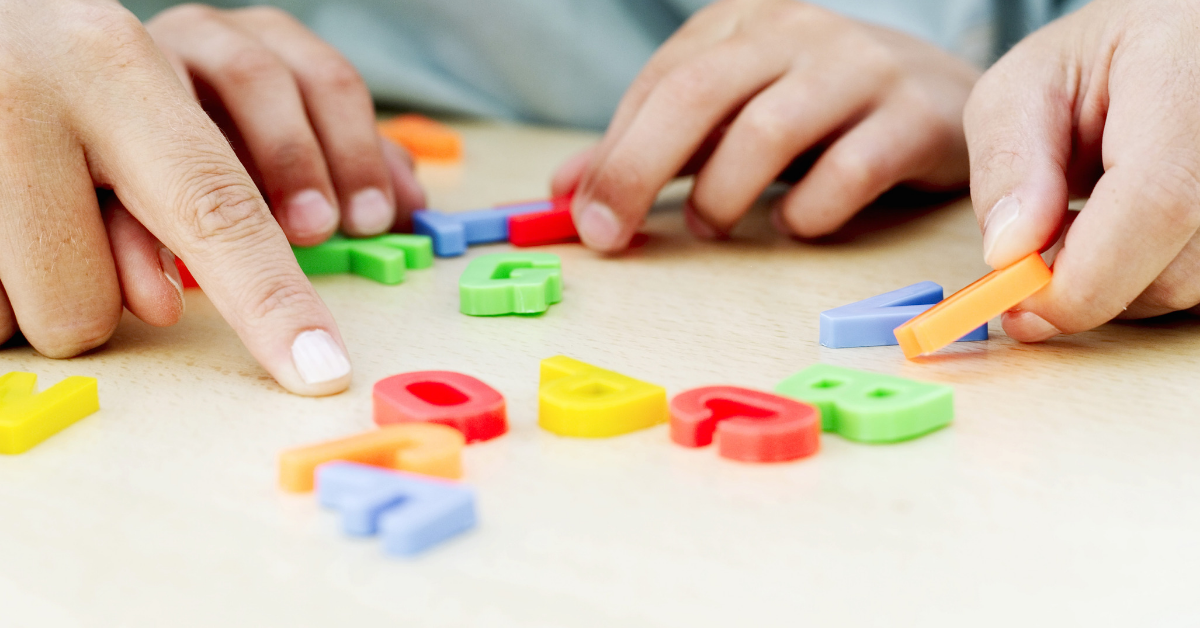
Colorful words – Using a different color pencil or crayon for each letter, the kids would write out the words. Other times they would use paint to create word art or cut out letters from a magazine and glue them to paper. We also used letter magnets on a baking sheet and the fridge and Foamie letters on felt.
Edible words – One of their favorite activities was to use Alpha Bits cereal (no longer available in stores but you may be able to find a generic version somewhere) to write the words. Sometimes we would use a piece of bread with peanut butter spread on it as our "paper". Other times they would just spell them on a plate then eat each letter as they spelled the word out loud. We also baked letter shaped cookies (I have a set of letter cookie cutters). We did this activity a couple of different ways. The first was to mix up a batch of rolled cookie dough (usually sugar cookie dough with flavor variations), then use the cutters to make a bunch of letters, bake and use the cookies to make the words. The other way was they would cut out the letters in the dough spelling the word as they went, baking it on the cookie sheet correctly spelled.
If you don't have letter cookie cutters, you could cut the dough into letters using a knife or use the dough like you would clay and "sculpt" the letters. Just be sure to flour your hands and not to work the dough too much or your cookies might not be too appealing. 😉
3-D words – Speaking of sculpting, we also used homemade modeling clay (like this one) to sculpt the words. Other materials we used to create 3-D versions of the words were alphabet building blocks, Scrabble letters, pipe cleaners and LEGOs. They would also string letter beads to make their words and display them at their desks during the week. After they had mastered the word, the beads would be unstrung to be used again. One time we used glue to write the words on paper, let them dry, then did crayon rubbings using it.
While I can't say that my kids became spelling bee champions because of our active-approach to spelling, I can say that we sure had fun trying to build those spelling skills.